

This cookbook demonstrates how to supercharge your CAMEL AI agents by connecting them to 600+ MCP tools seamlessly through ACI.dev. We’ll explore how to move beyond traditional tooling limitations and create powerful AI agents that can interact with multiple services like GitHub, Gmail, and more through a unified interface. Key Learnings:
- Understanding the evolution from traditional tooling to MCP
- How ACI.dev enhances vanilla MCP with better tool management
- Setting up CAMEL AI agents with ACI’s MCP server
- Creating practical demos like GitHub repository management
- Best practices for multi-app AI workflows
📦 Installation
First, install the required packages for this cookbook:Note - This method uses uv, a fast Python installer and toolchain, to run the ACI.dev MCP server directly from the command line, as defined in our configuration script.
🔑 Setting Up API Keys
This cookbook uses multiple services that require API keys:- ACI.dev API Key: Sign up at ACI.dev and get your API key from Project Settings
- Google Gemini API Key: Get your API key from Google’s API Console
- Linked Account Owner ID: This is provided when you connect apps in ACI.dev
.env file.
🤖 Introduction
LLMs have been in the AI landscape for some time now and so are the tools powering them. On their own, LLMs can crank out essays, spark creative ideas, or break down tricky concepts which in itself is pretty impressive. But let’s be real: without the ability to connect to the world around them, they’re just fancy word machines. What turns them into real problem-solvers, capable of grabbing fresh data or tackling tasks, is tooling.🔧 Traditional Tooling
Tooling is essentially a set of directions that tells an LLM how to kick off a specific action when you ask for it. Imagine it as handing your AI a bunch of tasks to do, it wasn’t built for, like pulling in the latest info or automating a process. The catch? Historically, tooling has been a walled garden. Every provider think OpenAI, Cursor, or others, has their own implementation of tooling, which creates a mismatch of setups that don’t play nice together. It’s a hassle for users and vendors alike.🌐 MCP: The Better Tooling
Which is what MCP solves. MCP is like a universal connector, a straightforward protocol that lets any LLM, agent, or editor hook up with tools from any source. It’s built on a client-server setup: the client (your LLM or agent) talks to the server (where the tools live). When you need something beyond the LLM’s cutoff knowledge, like up-to-date docs, it doesn’t flounder. It pings the MCP server, grabs the right function’s details, runs it, and delivers the answer in plain English.MCP Architecture Example
Here’s a practical example:- Imagine you’re working in Cursor (the client) and need to implement a function using the latest React hooks from the React 18 documentation.
- You request, “Please provide a useEffect setup for the current version.”
🚀 Outdoing Vanilla MCP
Why ACI.dev Takes MCP to the Next Level
MCP lays a strong groundwork, but it’s got some gaps. Let’s break down where it stumbles and how ACI.dev steps up to fix it. With standard MCP:- One server, one app: You’re stuck running separate servers for each tool — like one for GitHub, another for Gmail — which gets messy fast.
- Setup takes effort: Every tool needs its own configuration, and dealing with OAuth for a bunch of them is a headache for a normal or enterprise user
- No smart tool picks: MCP can’t figure out the right tool for a task — you’ve got to spell it all out ahead of time in the prompt to let the LLM know what tool to use and execute.
- The Apps MCP Server and the Unified MCP Server to give your AI a cleaner way to tap into tools and data.
How ACI.dev Levels Up MCP
- All Your Apps, One Server — ACI Apps MCP Server lets you set up tools like GitHub, Vercel, Cloudflare, and Gmail in one spot. It’s a single hub for your AI’s toolkit, keeping things simple.
- Tools That Find Themselves - Forget predefining every tool. Unified MCP Server uses functions like ACI_SEARCH_FUNCTION and ACI_EXECUTE_FUNCTION to let your AI hunt down and run the perfect tool for the job.
- Smarter Context Handling — MCP can bog down your LLM by stuffing its context with tools you don’t need. ACI.dev keeps it lean, loading only what’s necessary, when it’s necessary, so your LLM has enough memory for actual token prediction.
- Smooth Cross-App Flows — ACI.dev makes linking apps seamless without jumping between servers.
- Easy Setup, and Authentication - Configuring tools individually can be time-consuming, but ACI simplifies the process by centralizing everything. Manage accounts, API keys, and settings in one hub. Just add apps from the ACI App Store, enable them in Project Settings, and link them with a single linked-account-owner-id. Done.
🛠️ Tutorial: Two Ways to Integrate CAMEL AI with ACI
Alright, we’ve covered how MCP and ACI.dev make LLMs way more than just word generators. Now, let’s get our hands dirty with practical demos using CAMEL AI. There are two ways to integrate CAMEL AI with ACI.dev:- MCP Server Approach - Using CAMEL’s MCPToolkit with ACI’s MCP servers
- Direct Toolkit Approach - Using CAMEL’s built-in ACIToolkit
Step 1: Signing Up and Setting Up Your ACI.dev Project
First things first, head to ACI.dev and sign up if you don’t have an account. Once you’re in, create a new project or pick one you’ve already got. This is your control hub for managing apps and snagging your API key.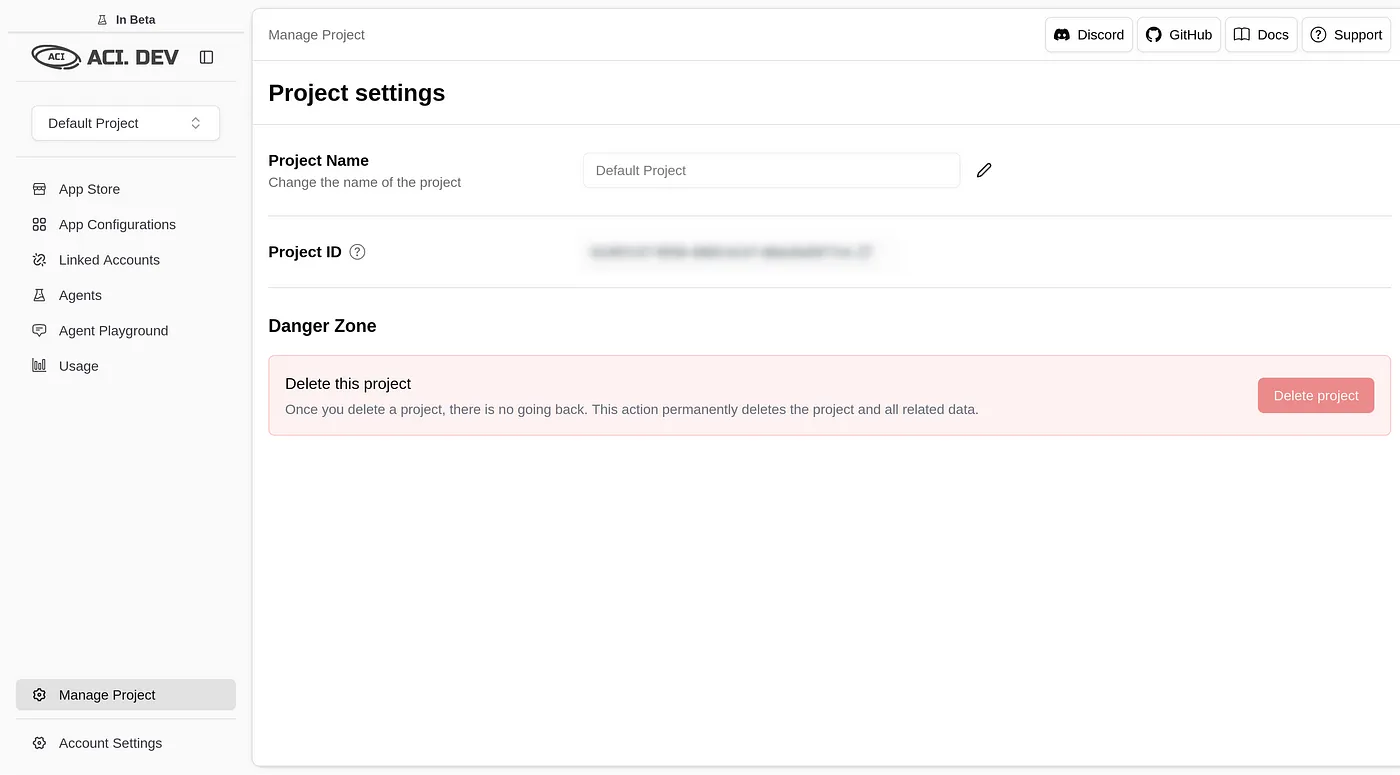
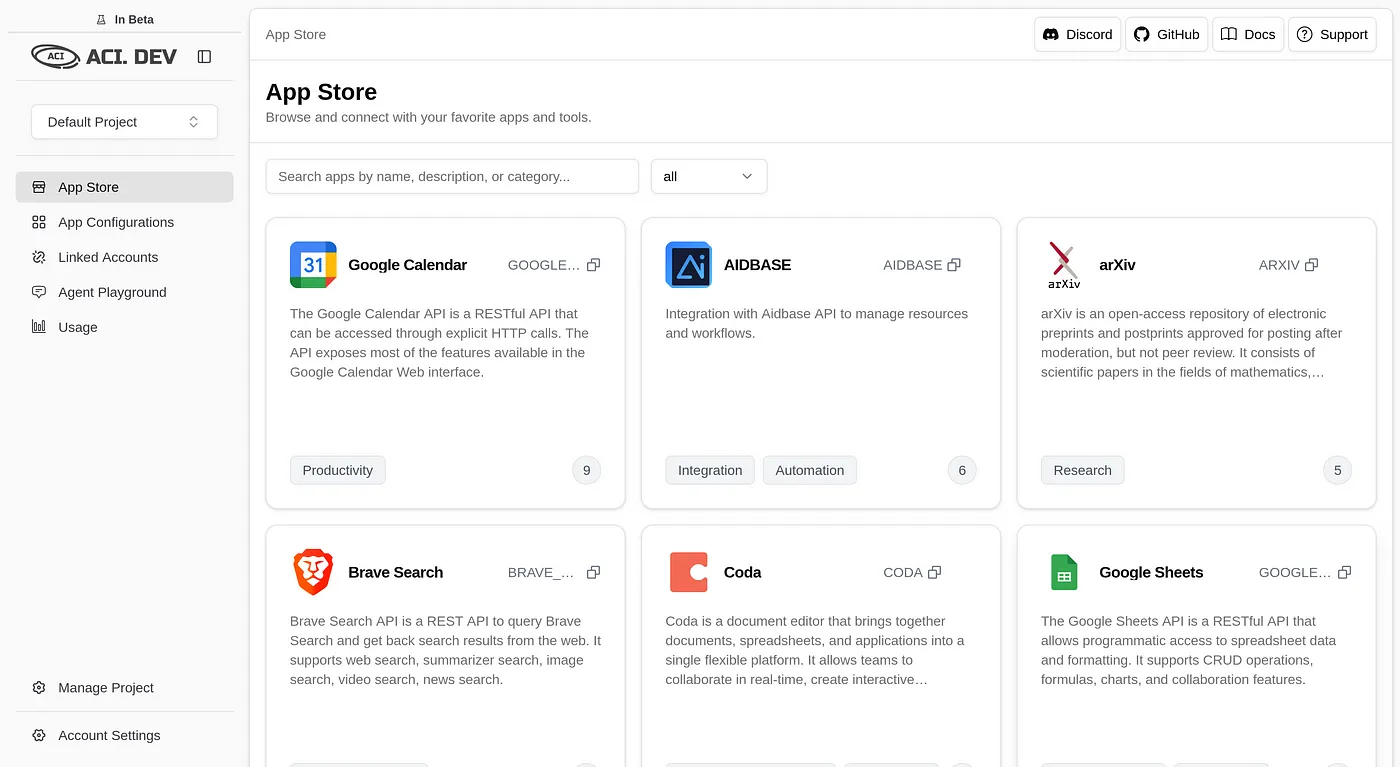
Step 2: Adding Apps in the ACI App Store
- Zip over to the ACI App Store.
- Search for the GitHub app, hit “Add,” and follow the prompts to link your GitHub account. During the OAuth flow, you’ll set a linked-account-owner-id (usually your email or a unique ID from ACI). Jot this down—you’ll need it later.
- For these demos, GitHub is our star player. Want to level up? You can add Brave Search or arXiv apps for extra firepower, but they’re optional here.
Step 3: Enabling Apps and Grabbing Your API Key
- Go to Project Settings and check the “Allowed Apps” section. Make sure GitHub (and any other apps you added) is toggled on. If it’s not, flip that switch.
- Copy your API key from this page and keep it safe. It’s the golden ticket for connecting CAMEL AI to ACI’s services.
Step 4: Environment Variables Setup
Both methods use the same environment variables. Create a.env file in your project folder with these variables:
your_gemini_api_key_herewith your GEMINI API key for the Gemini model (get it from Google’s API console)your_aci_api_key_herewith the API key from ACI.dev’s Project Settingsyour_linked_account_owner_id_herewith the ID from the aci.dev platform
🔧 Method 1: Using MCP Server Approach
This method uses CAMEL’s MCPToolkit to connect to ACI’s MCP servers. It’s ideal when you want to leverage the full MCP ecosystem and have more control over server configurations.Configuration Script
Here’s thecreate_config.py script to set up the MCP server connection:
Main CAMEL AI Agent Script (MCP Approach)
Here’s themain.py script to run the CAMEL AI agent:
Step 5: Running the Demo Task (MCP Method)
With everything set up, let’s fire up the CAMEL AI agent and give it a job.Run the Script
In your terminal, navigate to your project folder and run:Enter the Query
Type this into the prompt:Method 2: Using Direct Toolkit Approach
This method uses CAMEL’s built-in ACIToolkit, which provides a more direct integration without needing MCP server configuration. It’s simpler to set up and ideal for straightforward use cases.ACIToolkit Implementation
Here’s how to use the direct toolkit approach with the same environment setup:Running the ACIToolkit Method
- Save the above script as
main_toolkit.py - Make sure your
.envfile has the required variables (same as MCP method) - Run the script:
- Enter your query when prompted, for example:
📊 Comparing Both Methods
Choose MCP Approach when:
- You need to integrate multiple MCP servers
- You want fine-grained control over server configuration
- You’re building complex multi-agent systems
- You want quick and simple ACI integration
- You’re prototyping or building straightforward workflows
- You prefer minimal configuration overhead
✅ Checking the Results (Both Methods)
Once either agent finishes processing, head to your GitHub account to verify the results:- Look for the newly created repository in your GitHub account
- Open the repo and verify that any files were created as requested
- Check the repository description and other metadata
🔧 Troubleshooting and Tips (Both Methods)
- No Repo Created? Double-check that your GitHub app is linked in ACI.dev and that your
.envfile has the correctACI_API_KEYandLINKED_ACCOUNT_OWNER_ID. - Event Loop Errors? (MCP Method) If you hit a “RuntimeError: Event loop is already running,” try adding
import nest_asyncio; nest_asyncio.apply()at the top ofmain_mcp.pyto handle async conflicts. - Import Errors? (ACIToolkit Method) Make sure you have the latest version of CAMEL AI installed with
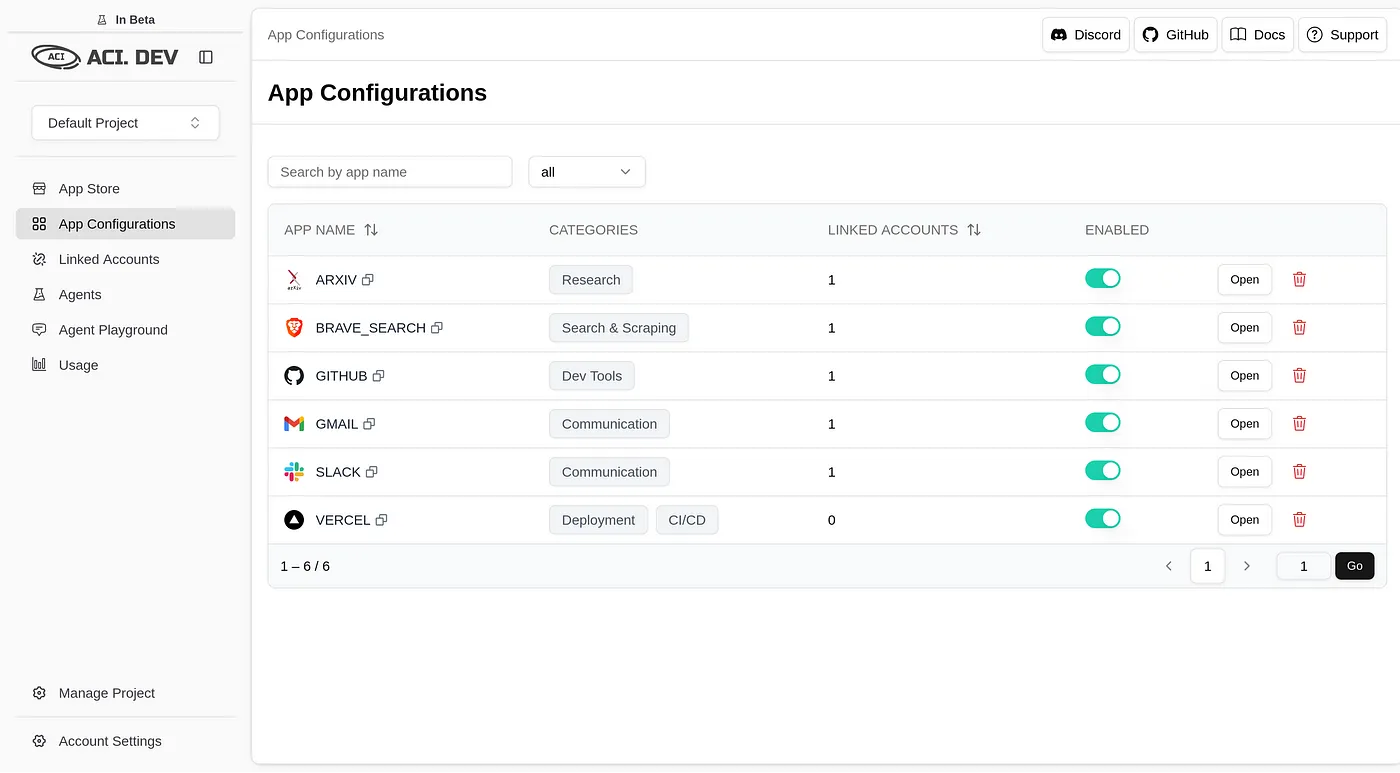
pip install --upgrade "camel-ai[all]" - Tool Loading Issues? Both methods automatically discover available tools from your ACI account. Ensure your apps are properly enabled in ACI.dev Project Settings.
- API Rate Limits? If you hit rate limits, the agents will typically handle retries automatically, but you may need to wait a moment between requests.
Example Queries
You can modify the user query to ask different questions, such as:- “Create a new repository and add multiple files with different content”
- “Search for recent articles about AI agents and create a summary document”
- “List my existing repositories and their descriptions”
- “Create an issue in my repository with a bug report”
🎯 Conclusion
The world of AI agents and tooling is buzzing with potential, and MCP is a solid step toward making LLMs more than just clever chatbots. In this cookbook, you’ve learned how to:- Understand the evolution from traditional tooling to MCP
- Set up ACI.dev’s enhanced MCP servers with CAMEL AI
- Create practical AI agents that can interact with multiple services
- Handle authentication and configuration seamlessly
- Build workflows that span multiple applications
- 🐫 Creating Your First CAMEL Agent free Colab
- Graph RAG Cookbook free Colab
- 🧑⚖️ Create A Hackathon Judge Committee with Workforce free Colab
- 🔥 3 ways to ingest data from websites with Firecrawl & CAMEL free Colab
- 🦥 Agentic SFT Data Generation with CAMEL and Mistral Models, Fine-Tuned with Unsloth free Colab